with Marianna Jamadi
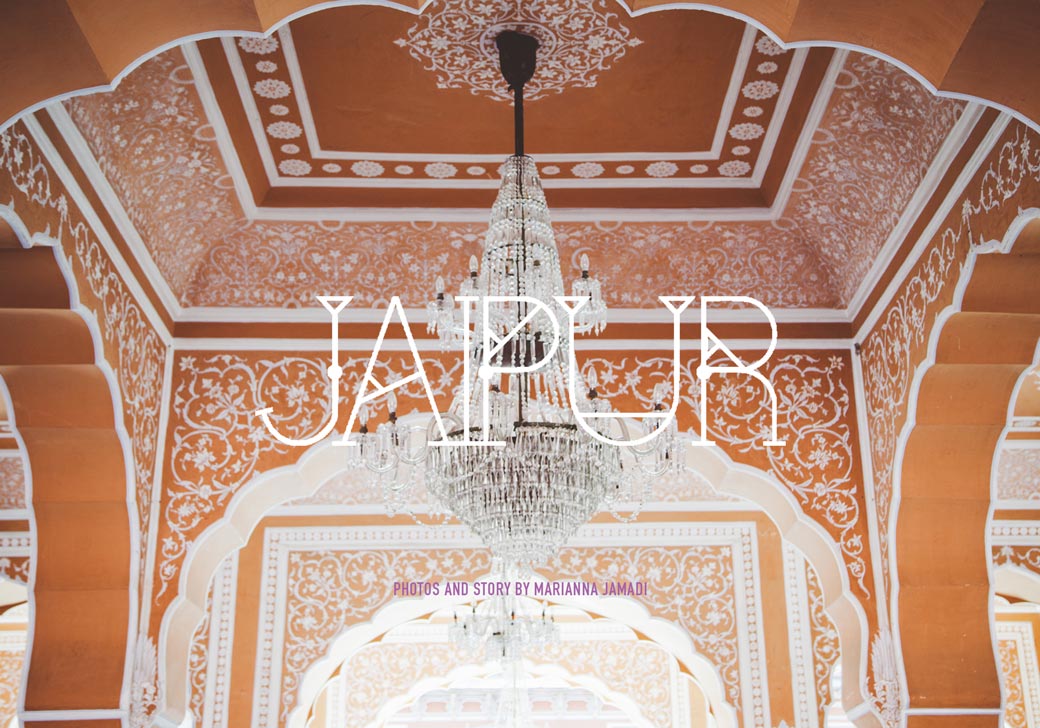
Jaipur, India
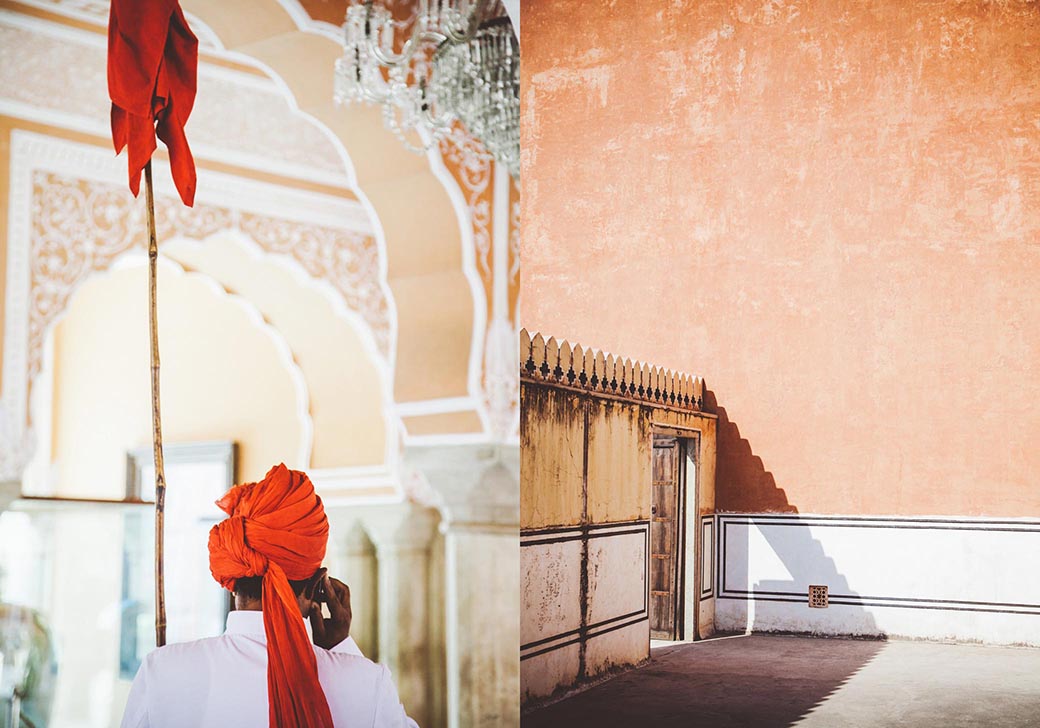
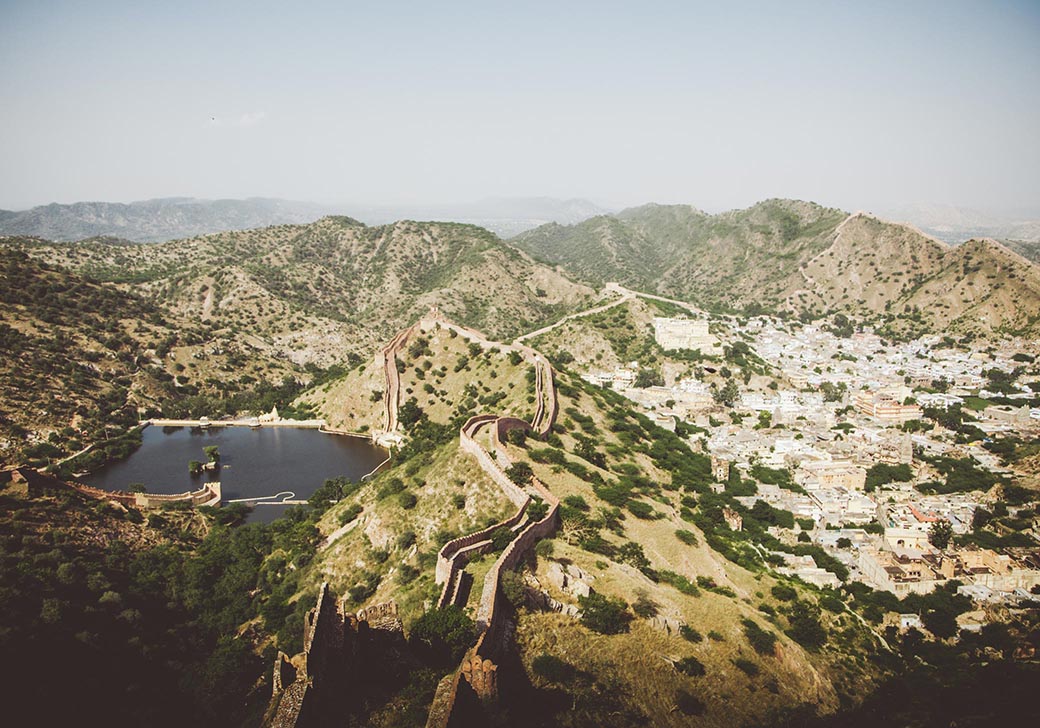
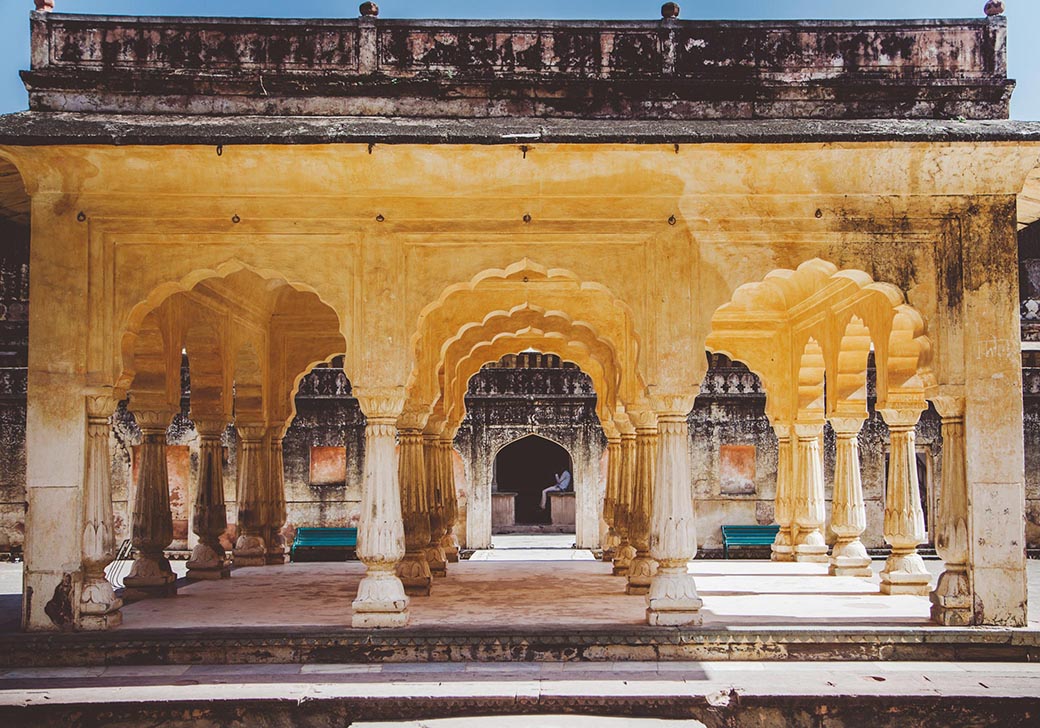
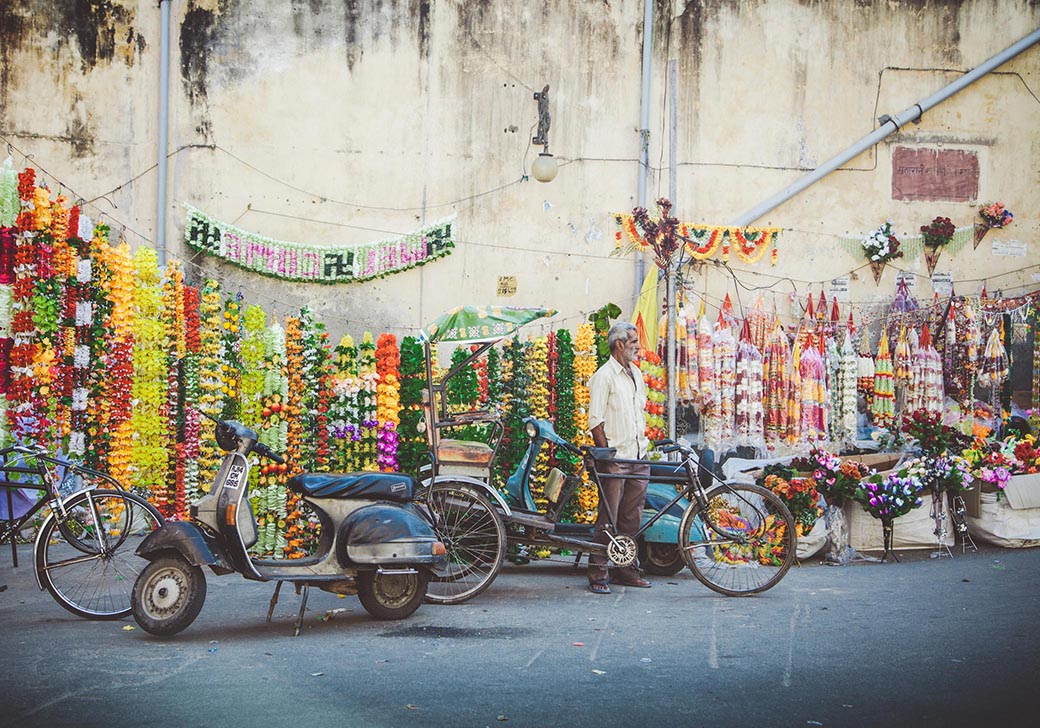
In Jaipur, India, the streets are ripe with color and chaos, and surprise. I love the architecture, filled with details of tiny imperfections. Around every corner of the city I find myself noticing patterns and I wanted to immerse myself in learning more. Enter Bagru, 30 kilometers outside the Pink City of Jaipur. People here are famous for their expertise in block printing and more specifically, their use of vegetable and natural dyes. The process is not only painstakingly laborious but it’s also ancient—it has been used, refined, and perfected for over 1000 years.
Eager to get lost in the artistic process and step outside the usual traveler’s routing, I reached out to the Jai Texart Factory in Bagru to sign up for a one-day block-printing workshop.
Here is the rigorous regimen:
Step 1, Washing
It’s important to rid the fabric of any impurities. In the past, they would use cow dung diluted in water to wash the fabric. My fabric was already treated, so I started at Step 2.
Step 2, Harda Dying
The fabric is soaked in cool water and harda powder. Think of this as a primer. Without this step, the color dye will not absorb properly into the cotton.
Step 3, Drying
We lay our fabric flat in direct sunlight to dry. It will have a yellowish tint after this step, which later disappears when it’s washed again.
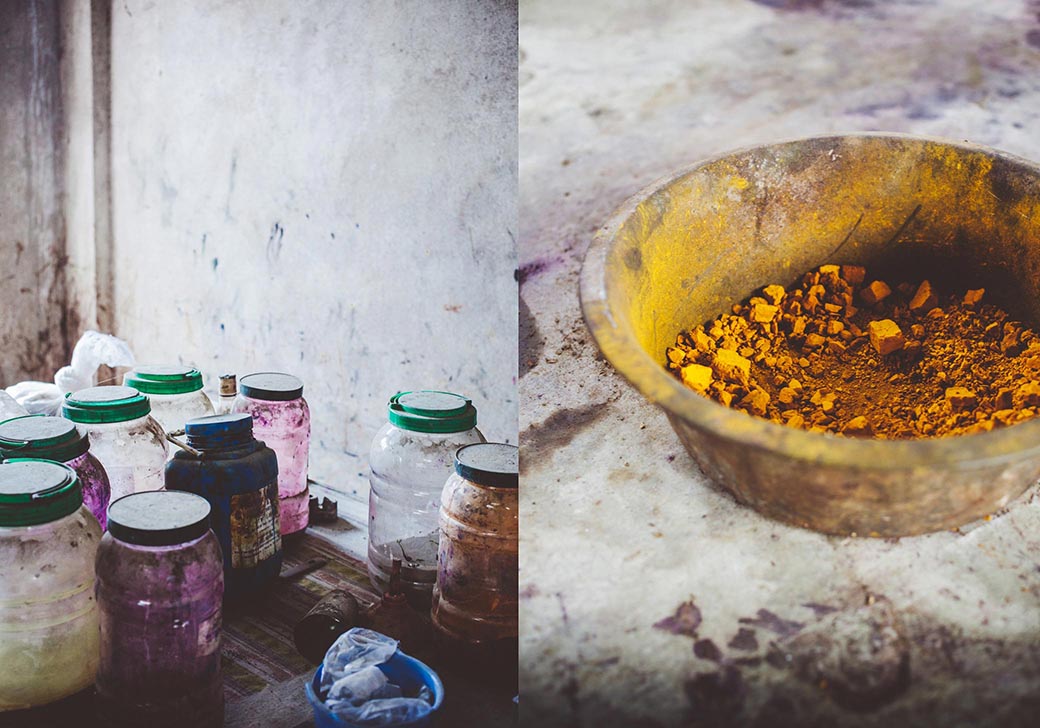
As my fabric is drying, we go over the different natural and vegetable dyes we’ll use. Typically, when it comes to natural dyes, only three colors are used.
BLACK: Horseshoes sit on coals for a period of time and then are brushed of rust and put into cans with water and sugar cane juice. They are left like this to ferment for months in order to yield the black dye.
RED: A mixture of natural gum paste and alum.
BROWN: Red Kashish mixed with water.
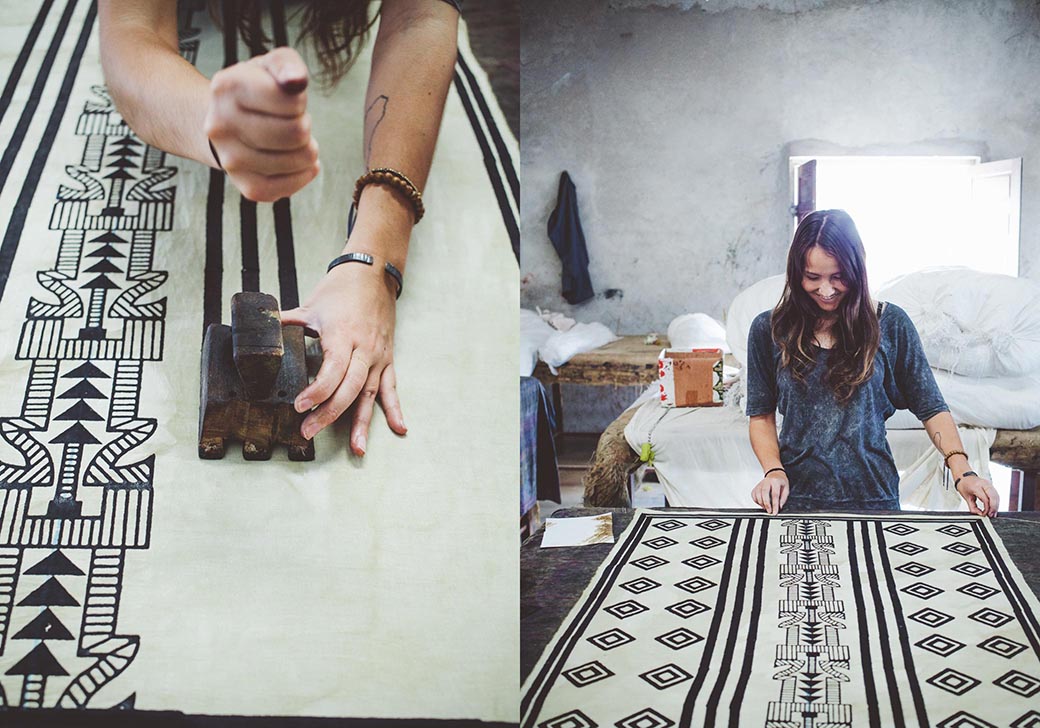
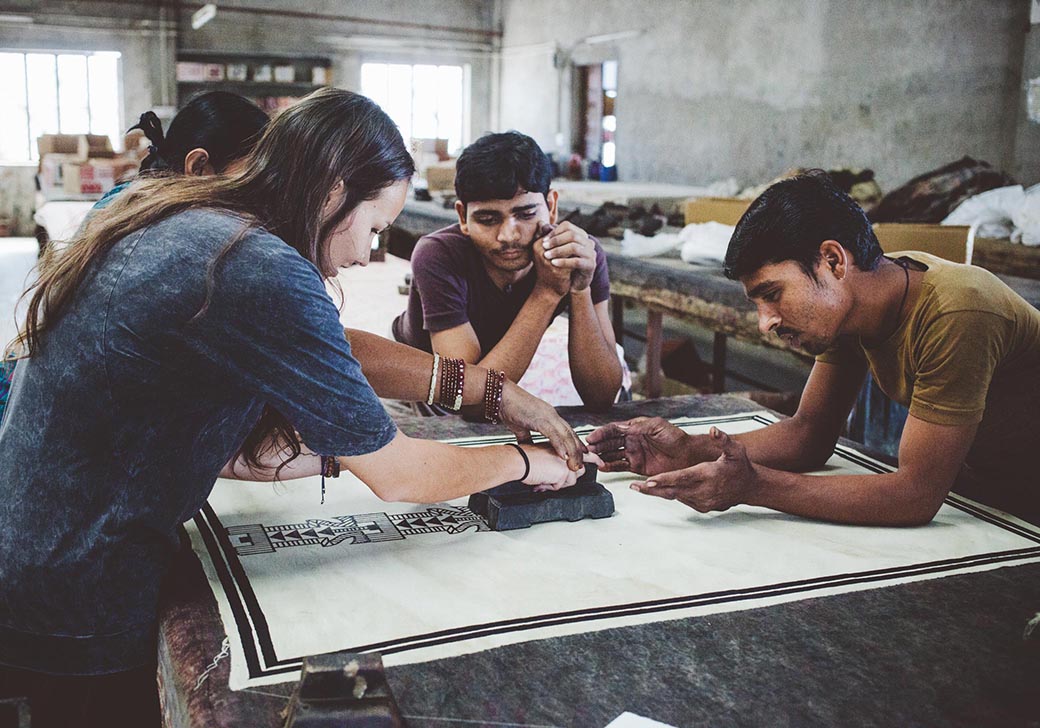
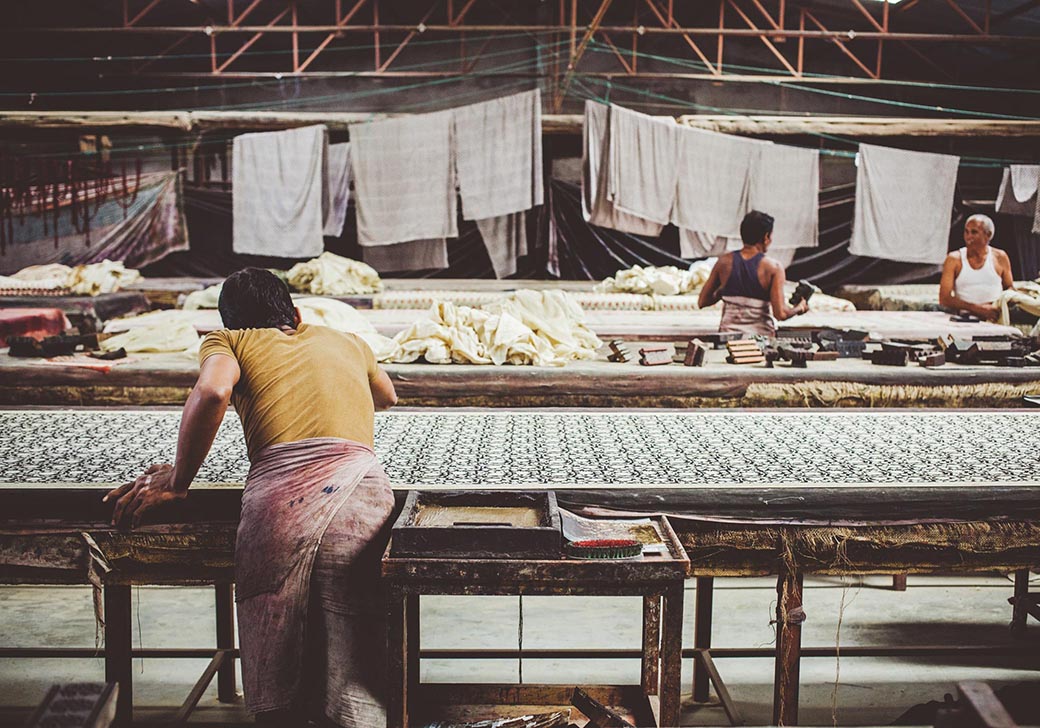
Step 4, Printing
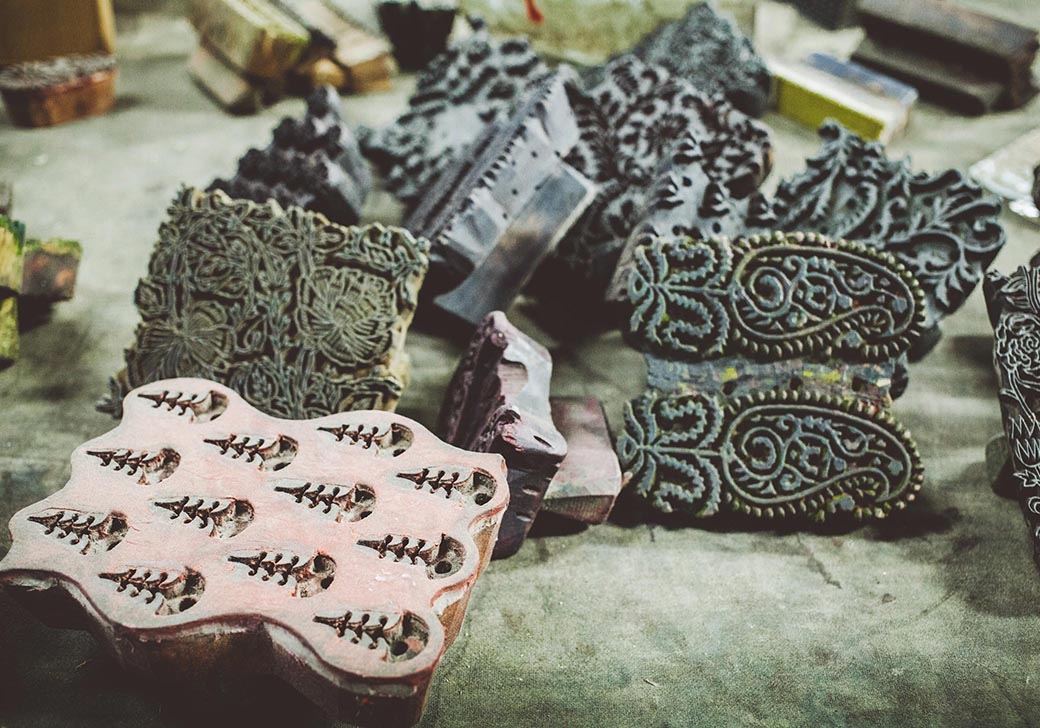
Once the fabric is dry, the true artistry begins. We learn how to stretch and pin the fabric onto a printing table to avoid slips and air bubbles. I choose the blocks I want for my print and get started.
I find out quickly this takes precision. The block is placed from left to right and then slammed hard with your fist on the back of the handle for complete registration with the fabric.
Typically you print first with an outline block and then with the inverse, which is called the filling block. The tricky part is not only lining the two up properly, but dealing with the illusion of colors that can boggle the brain. When choosing a red dye, it actually appears yellow at the printing stage—it won’t look red until the last step when the printed fabric is boiled with Alizarin (the root of the Indian Madder Tree).
After I finish printing, my hands are swollen.
Step 6, Drying
We lay the fabrics in direct sunlight again.
Step 7, Washing
When the dyes are fully dried, the fabric is ready to be washed in cool water.
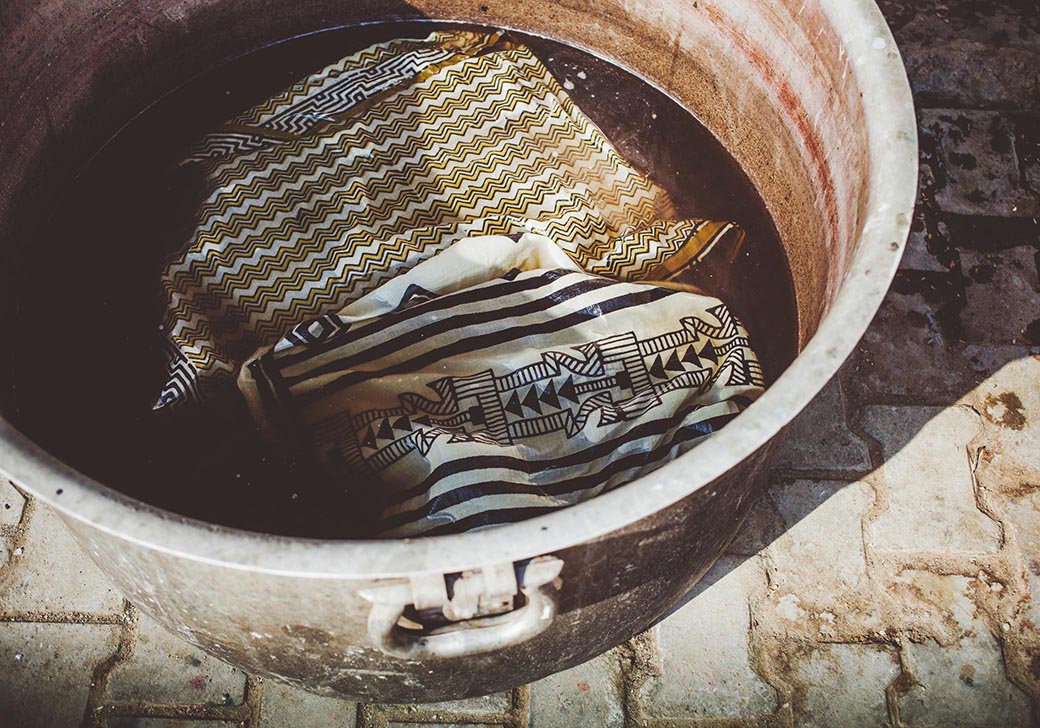
Step 8, Boiling
This is the color fasting stage and takes place with the help of flowers from the Dhaura tree. Pieces with red dye are boiled in a separate pot with Alizarin, which turns the once yellowish color red.
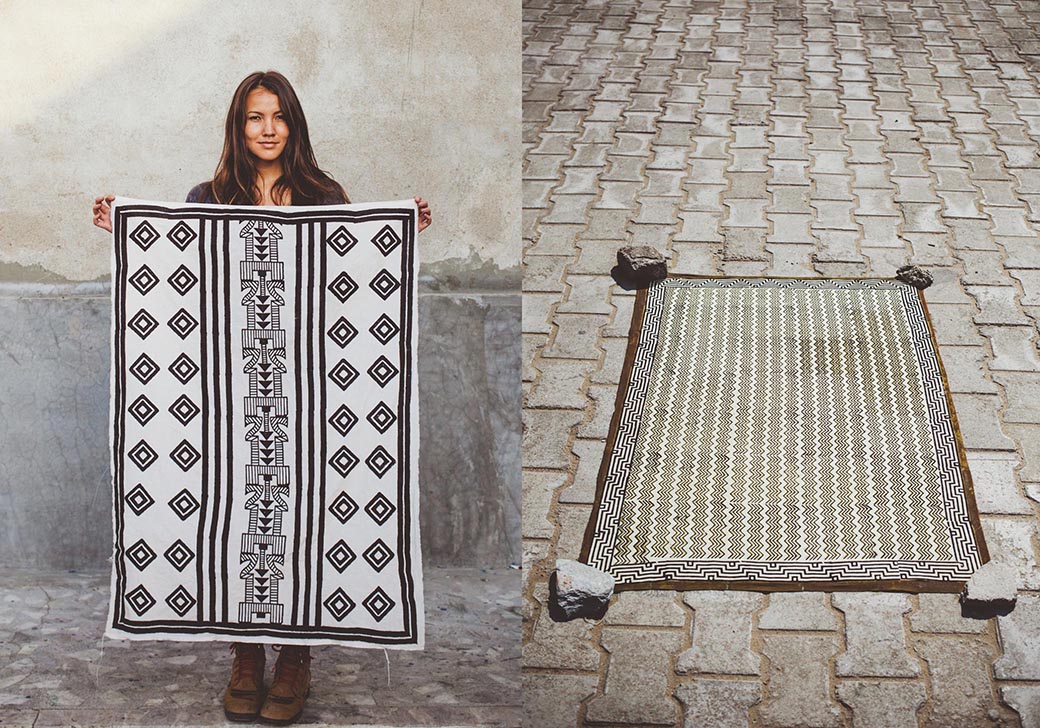
Once boiled, the pieces are given a quick rinse and spin to dry, and they are done! They dry in the sun and now I have two hand-printed scarves. From start to finish, the block-printing process takes an entire day and I’m floored by how many steps are required to get to the final product. My scarves, are beautifully plagued with minor mistakes and imperfections, which make them not only unique, but also a medium in which a story is told.